Article Content
| Overview |
| User Account Requirements |
| Related Information/Setup |
| Navigation |
| Creating a New Corrective Action & Adding it to an Issue |
Overview
User can create new Corrective Actions if the Corrective Action they are looking for does not currently exist in the system. Corrective Actions are designed to detail the steps to solve an issue.
User Account Requirements
The user account used must be added to the Issue Team user group to review an issue.
Navigation
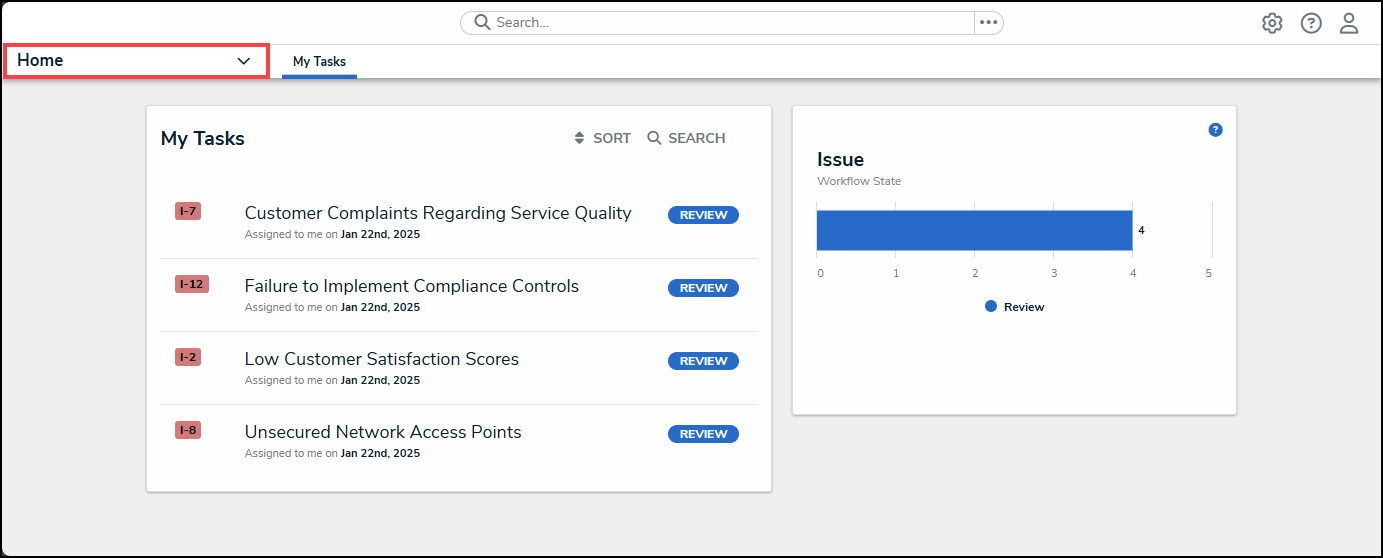
- From the Home screen, click the Home dropdown.
Home Dropdown
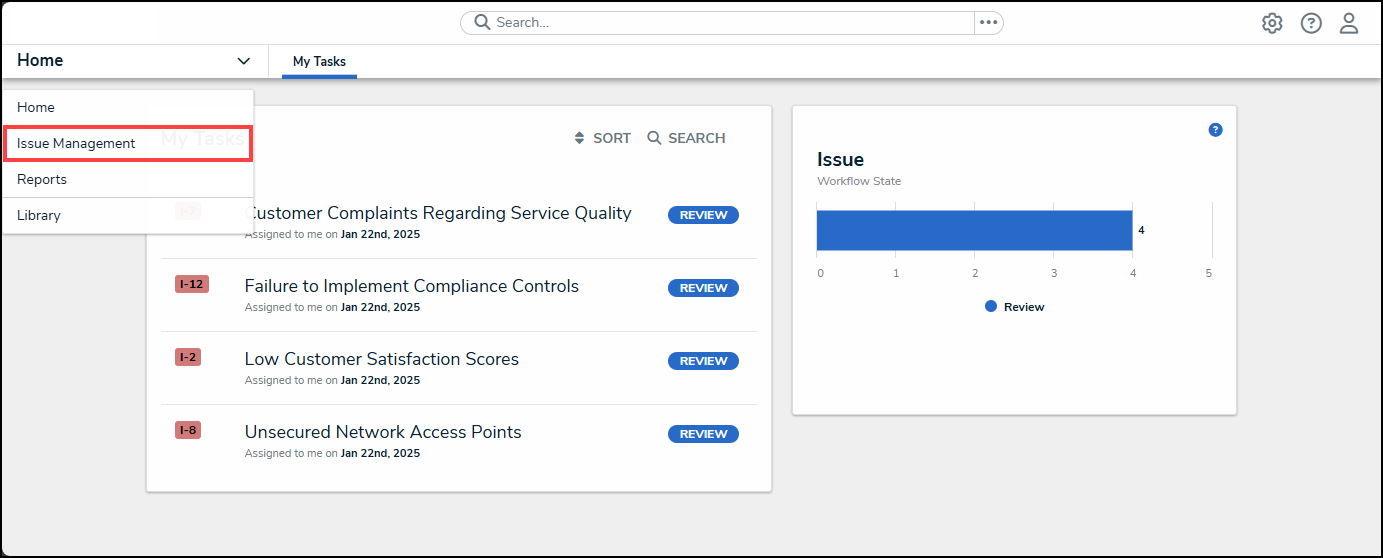
- From the Home dropdown menu, select the Issue Management link.
Issue Management Link
- From the Draft screen, click on the Open tab.
Open Tab
- (Optional) Enter an Issue Name in the Search field to narrow the open and extended list.
Search Field
- From the Open screen, click on an Issue on the Open and Extended Issues list.
Open Issue
Creating a New Corrective Action & Adding it to an Issue
- From the Details tab, scroll to the Management Response section.
Details Tab
- Click on the + Create New link under the Corrective Actions table.
+ Create New Link
- From the Create a New Corrective Action pop-up, enter a Name in the Corrective Action Name field, used to represent the Corrective Action throughout the system and for reporting purposes.
Create a New Corrective Action Pop-up
- Enter a description of the Corrective Action in the Description field detailing the Corrective Actions and any steps that are involved.
Description Field
- Select a Corrective Action Priority from the Priority dropdown menu. The priority indicates the importance of implementing the Corrective Action.
Priority Dropdown Menu
- Select an Expected Completion Data from the Expected Completion Date field by clicking on a Date on the Calendar pop-up.
Calendar Pop-up
- Click the Corrective Action Owner field and enter a username or user group name in the field and select a user or user group from the dropdown menu.
Corrective Action Owner Dropdown Menu
- Click one of the following buttons to complete creating the Corrective Action:
- Create and Save as Draft: The Create and Save as Draft button, creates the Corrective Action and save it as a draft, adding it to the Issue as a Draft Corrective Action.
- Open Corrective Action: The Open Corrective Action button creates the Corrective Action and Adds it to the Issue as an Open Corrective Action.
Corrective Action Buttons