Article Content
| Overview |
| User Account Requirements |
| Navigation |
| Extending an Issue's Due Date |
Overview
An Issue's due date can be extended by using the Extended Due Date field on an Issue. If the Extended Due Date field is populated and the date in the Due Date field is reached, the Issue will move into an Extended status. Once the Extended Due Date field is reached, the Issue will move into an Overdue status.
User Account Requirements
The user account used to log into Resolver must be added to the Issue Team user group.
Navigation
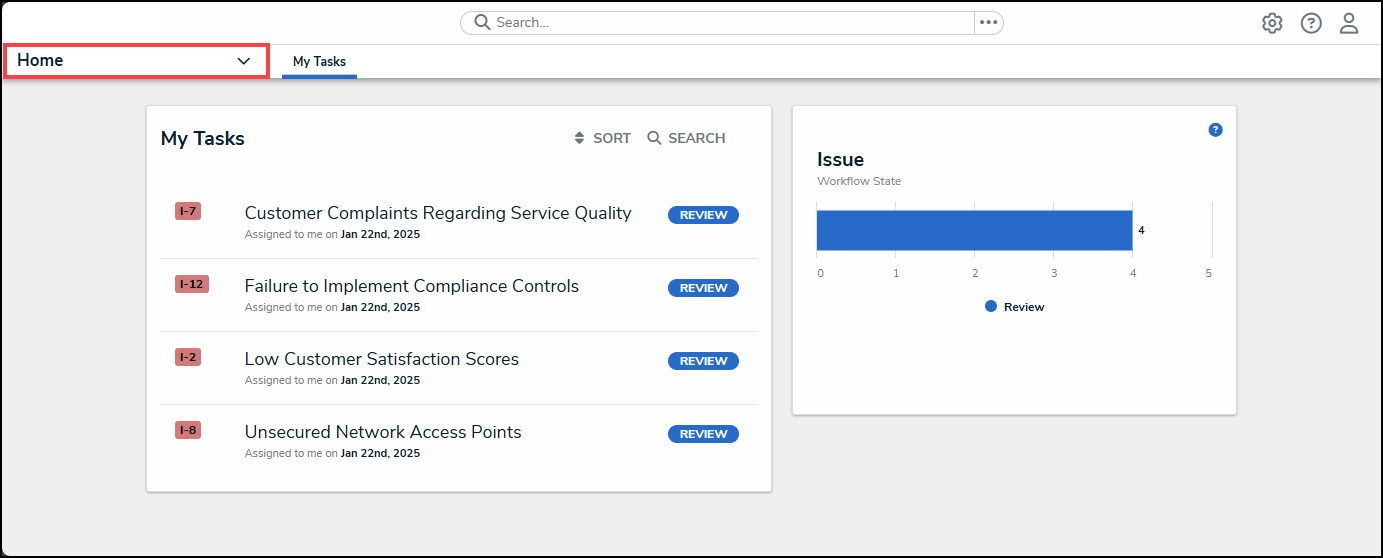
- From the Home screen, click the Home dropdown.
Home Dropdown
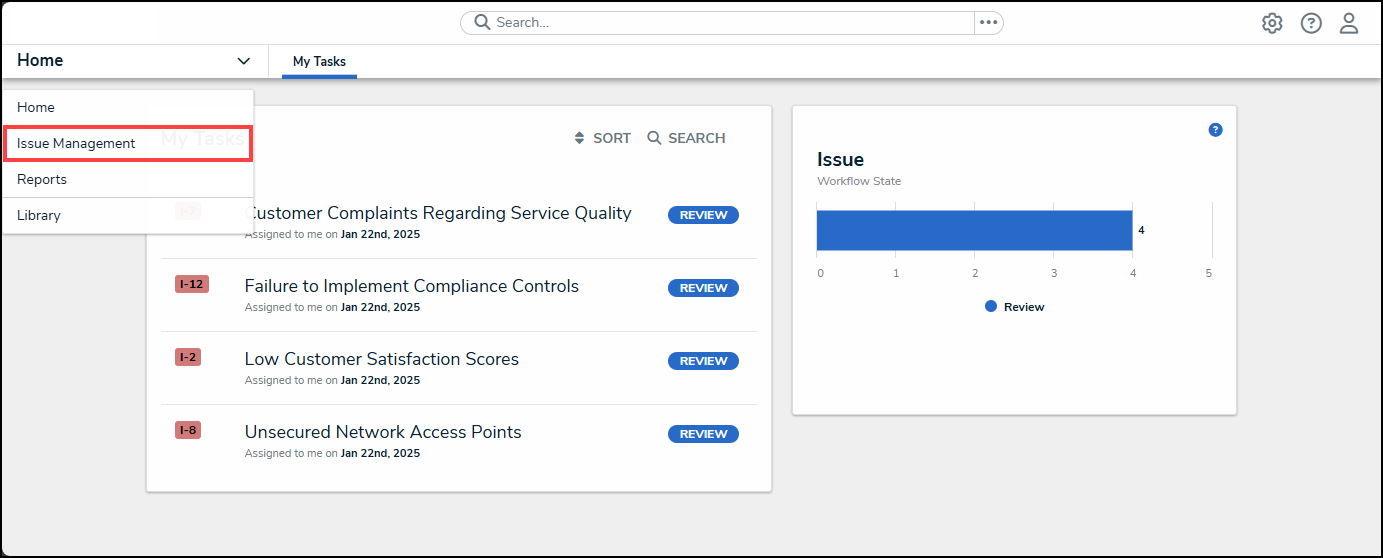
- From the Home dropdown menu, select the Issue Management link.
Issue Management Link
- From the Details tab, click the Open tab.
Open Tab
- From the Open screen, enter an Issue Name in the Search field to narrow down the search results list.
Serach Field
- Click on an Issue link.
Issue Link
Extending an Issue's Due Date
- From the Details tab, scroll to the Key Dates section.
Key Dates Section
- Click the Extended Due Date field and select a new date from the Calendar pop-up.
Calendar Pop-up
- If the Extended Due Date field is populated and the date in the Due Date field is reached, the Issue will move into an Extended status.