Article Content
| Overview |
| User Account Requirements |
| Related Information/Setup |
| Navigation |
| Reviewing a Corrective Action in an Open Status |
Overview
Once a Corrective Action is created, a member of the Issue Team can fill in the required information for the Corrective Action before it is sent for review.
Related Information/Setup
Please refer to the Sending a Corrective Action for Review article for more information on moving a Corrective Action to the review status.
User Account Requirements
The user account used to log into Resolver must be added to the Issue Team user group.
Navigation
- From the Home screen, click the Home dropdown.
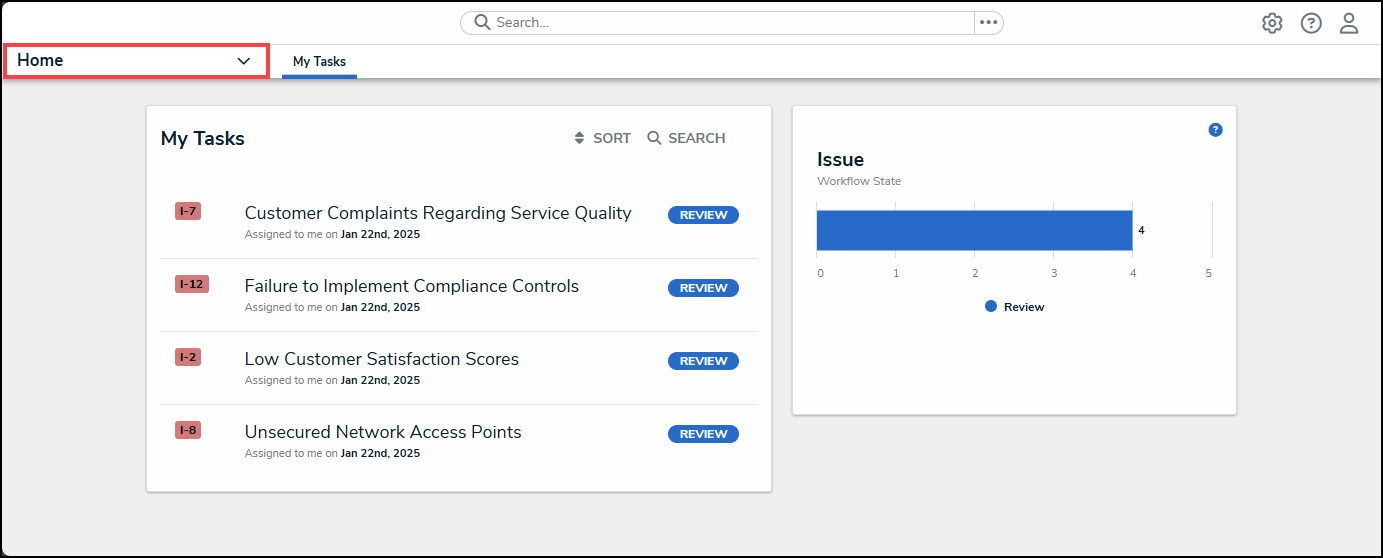
Home Dropdown
- From the Home dropdown menu, select the Issue Management link.
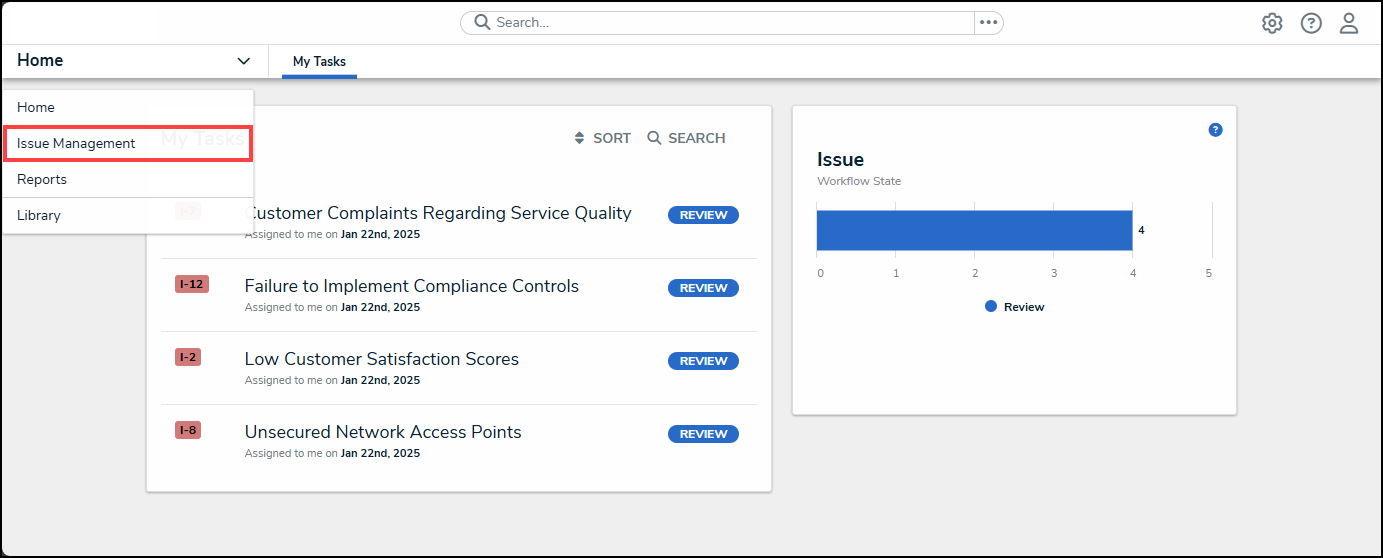
Issue Management Link
- From the Details tab, click the Corrective Actions tab.
Corrective Actions Tab
- From the Corrective Actions screen, enter an Issue Name in the Search field to narrow down the search results list.
Serach Field
- Click on an Issue link in an Open status.
Issue Link
Reviewing a Corrective Action in an Open Status
- From the Details tab, enter a description summarizing the corrective action in the Description field.
Description Field
- Click the Corrective Action Owner field and enter a Username or User Group Name and select a User or User Group from the dropdown menu. The Corrective Action Owner is the user who is responsible for the Corrective Action.
Corrective Action Owner Field
- Select a priority level (low, medium, or high) from the Priority dropdown menu. The Priority will rank the corrective action by level of importance.
Priority Field
- Select a completion date from the Expected Completion Date field by clicking on a Date from the Calendar pop-up.
Calendar Pop-up
- Before submitting the Corrective Action for review, click the Actual Completion Date field and select the actual completion date from the Calendar pop-up.
Calendar Pop-up
- Drag and drop a supporting document into the Support Attachments field or click the top portion of the field and select a file from the connected PC.
Supporting Attachments Field
- Click the Click to add a web link to a file within the Supporting Attachments field.
Click to Add a Web Link to a File
- From the Web Links screen, enter a name in the Display Name field. The Display Name will appear under the Supporting Attachments field instead of the URL.
Display Name Field
- Enter a URL link in the URL Link field, where the supporting documentation is located.
URL Link Field
- Click the + Add Link to add the Web Link to the Corrective Action.
+ Add Link
- The Web Link and anything supporting attachments will appear under the Supporting Attachments field title.
Support Attachments
- Click the x icon to remove the supporting attachment from the Corrective Action.
x Icon
- Related Issues and Loss Events connected to the Corrective Action will appear under the corresponding tabs.
Tabs