Article Content
| Overview |
| User Account Requirements |
| Related Information/Setup |
| Navigation |
| Reviewing the Manage Issue Section for an Issue in a Draft State |
Overview
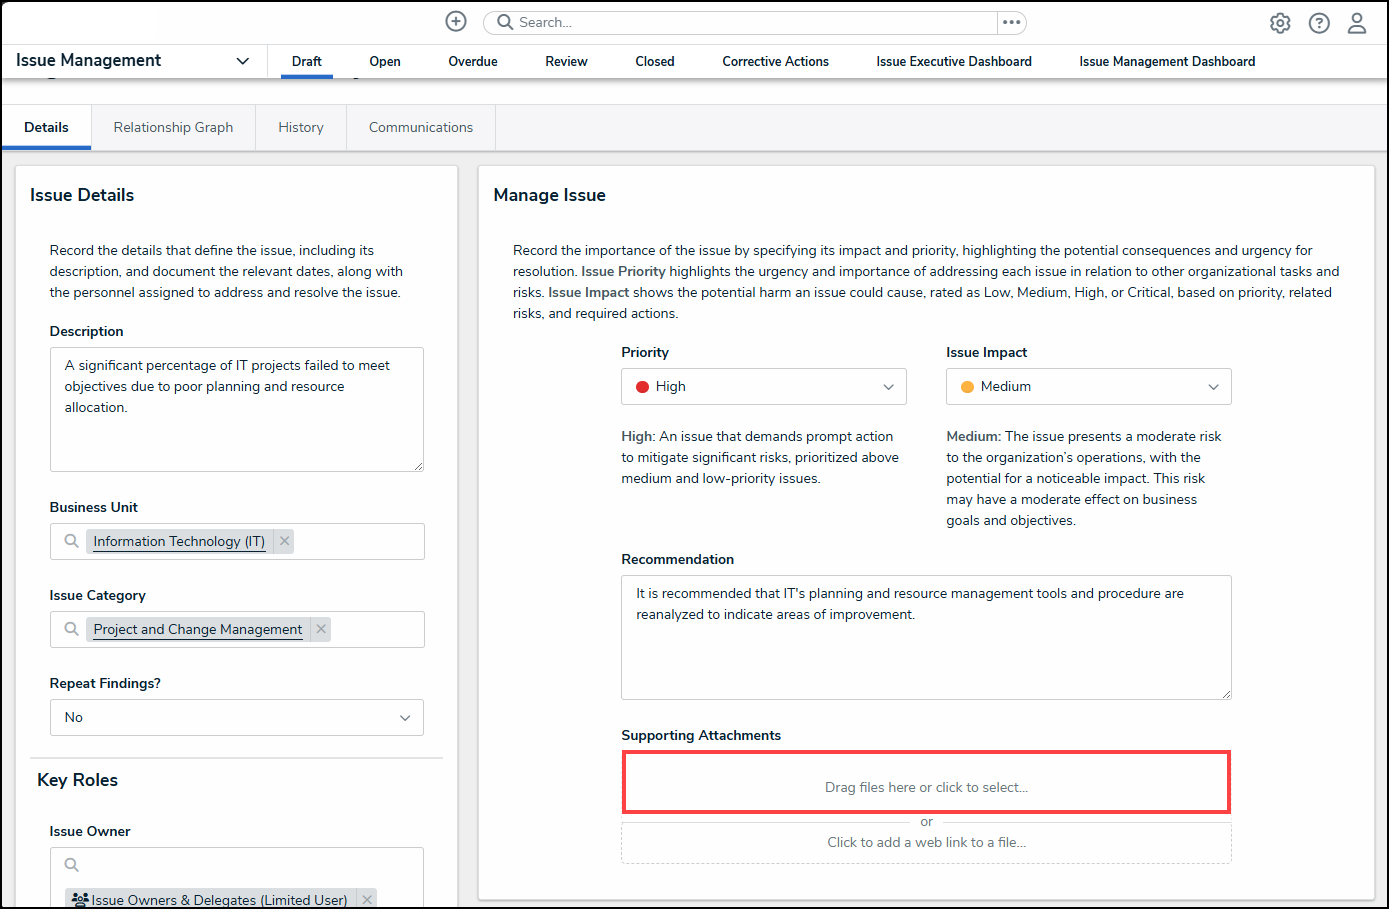
As part of the issue review process, a member of the Issue Team must confirm and set the Manage Issue section details, which include Priority, Issue Impact, Recommendation, and Support Attachments.
User Account Requirements
The user account used must be added to the Issue Team user group to review an issue.
Related Information/Setup
Please see the Reviewing Key Dates for an Issue in a Draft State article for more information on issue key dates.
Please see the Reviewing Issue Details & Key Roles for an Issue in a Draft State article for further information on filling out the Issue Details & Key Roles sections.
Navigation
- From the Home screen, click the Home dropdown.
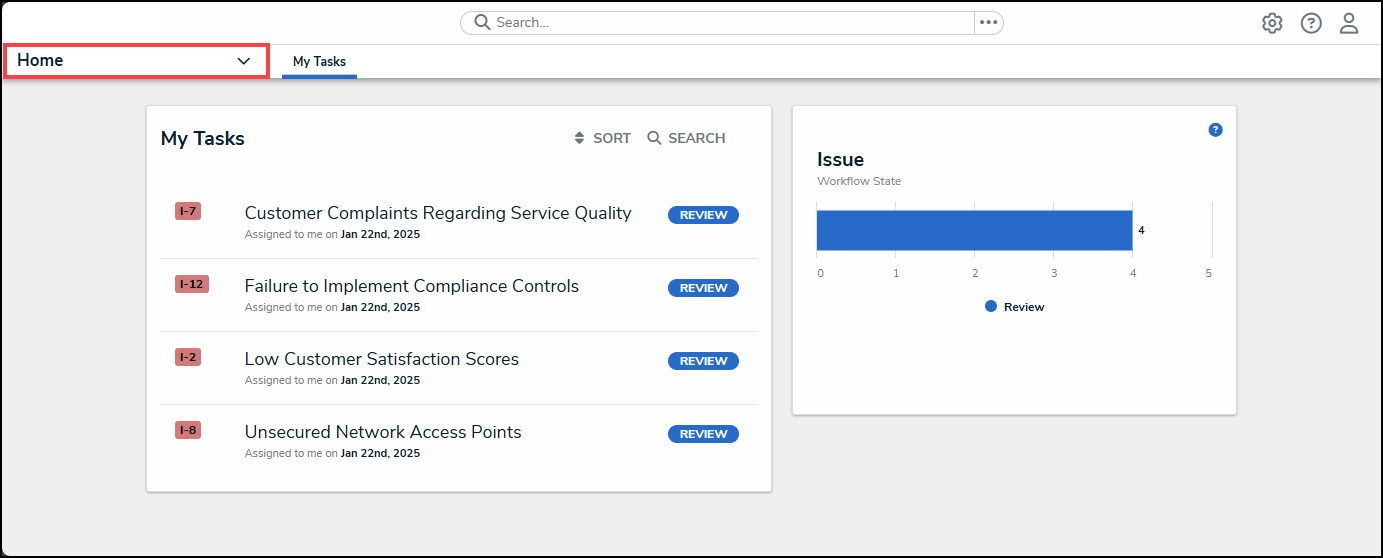
Home Dropdown
- From the Home dropdown menu, select the Issue Management link.
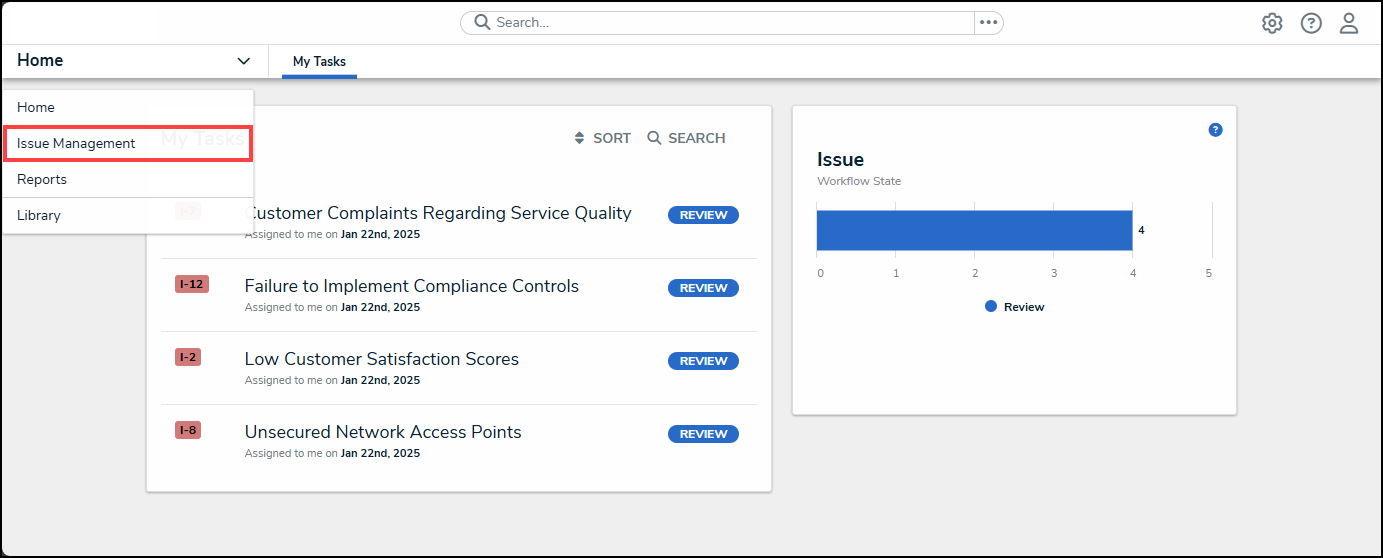
Issue Management Link
- From the Draft screen, click on an Issue on the Draft Issues list.
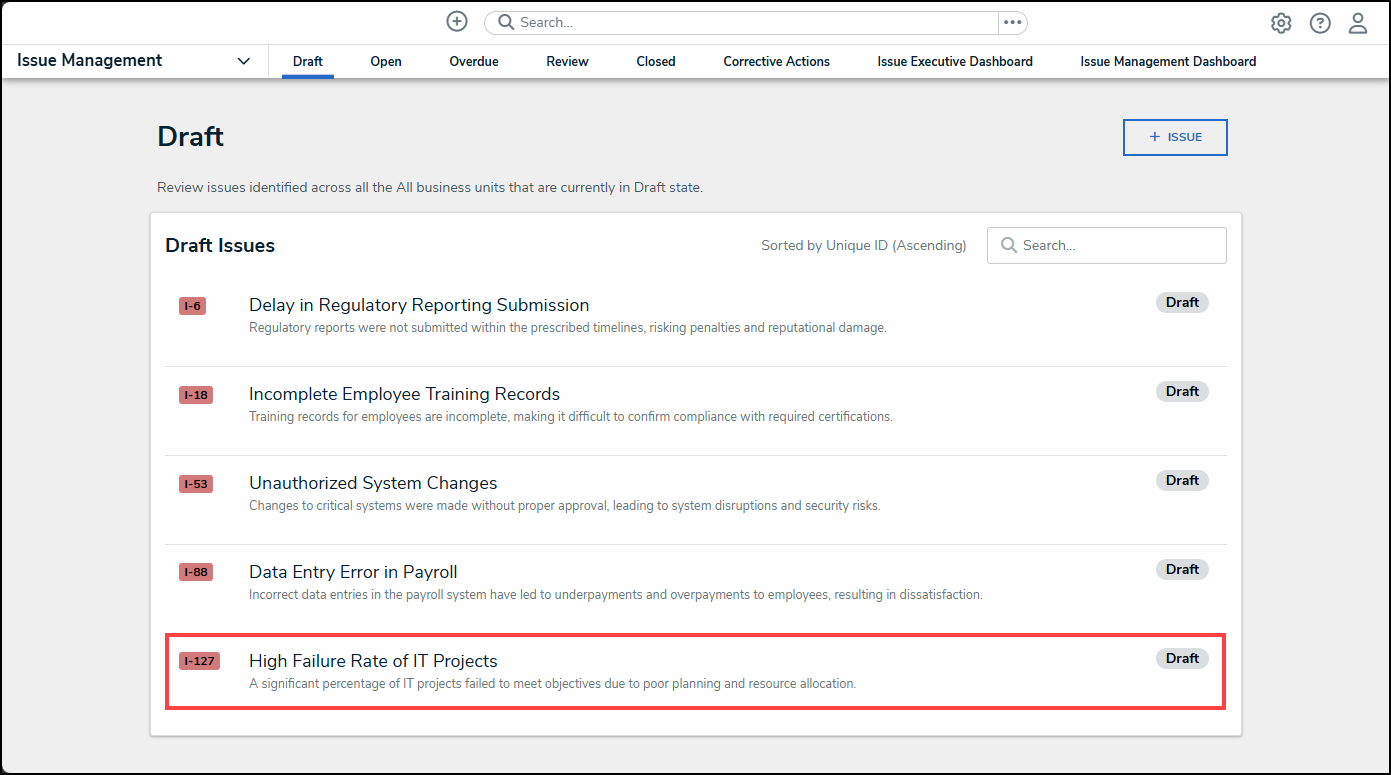
Draft Issue
Reviewing the Manage Issue Section for an Issue in a Draft State
- From the Details tab, select an issue priority from the Priority dropdown menu. The Priority field indicates the issue's urgency and importance.
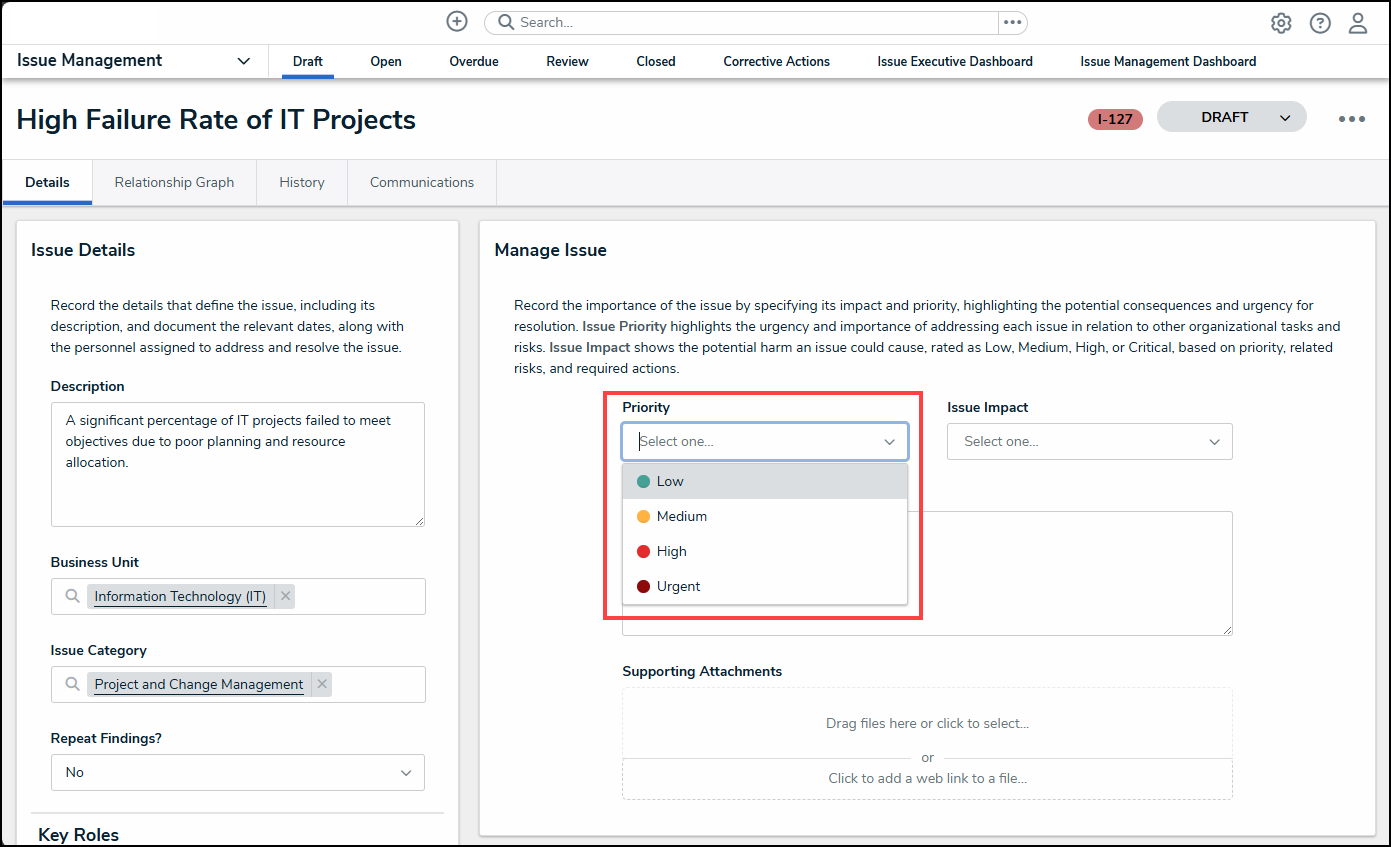
Priority Dropdown Menu
- Once a priority is selected from the Priority dropdown menu, a brief description of the priority will appear under the Priority field.
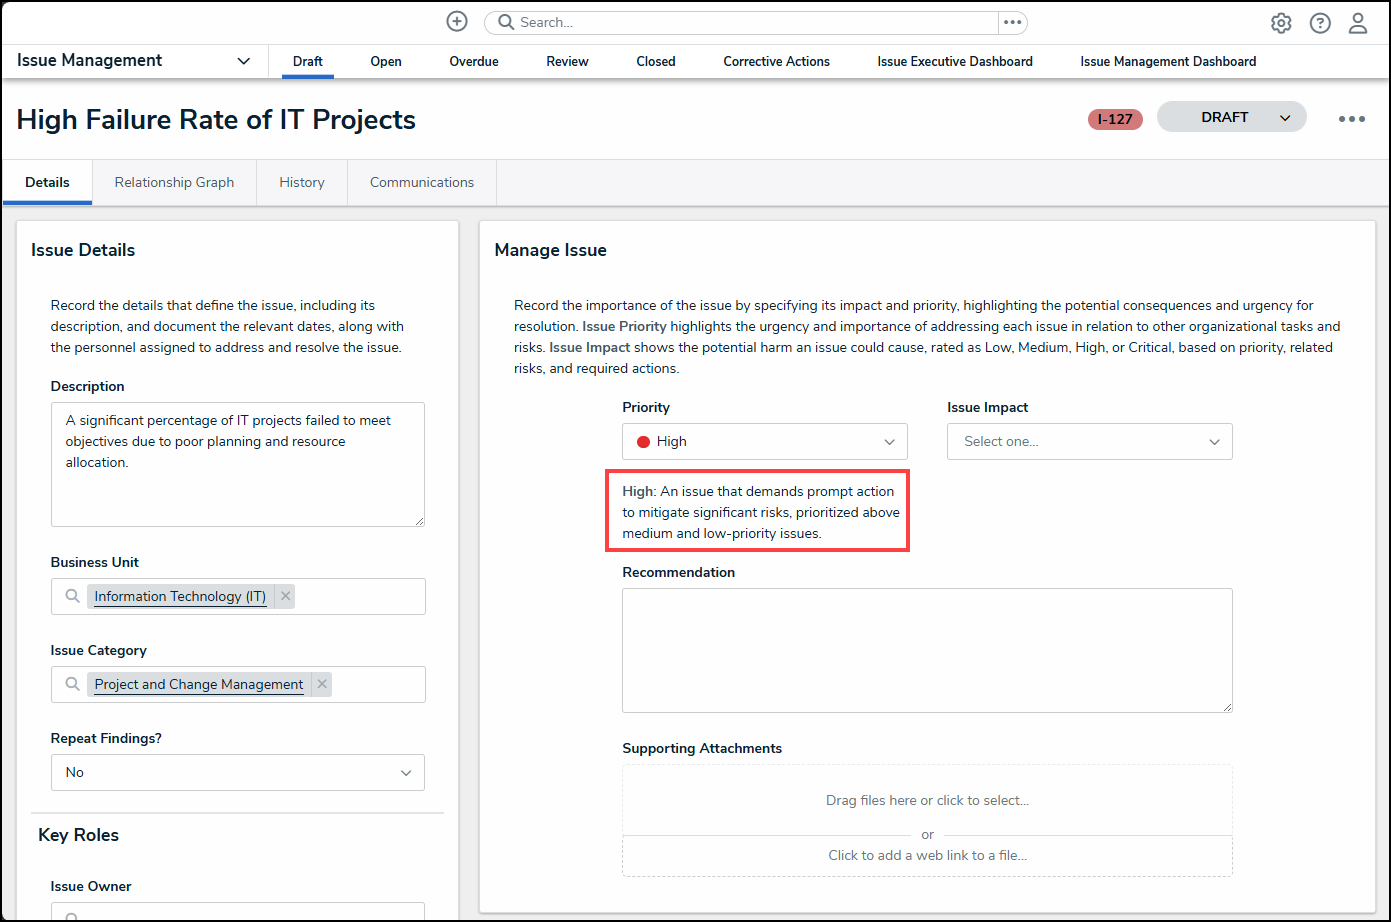
Priority Description
- Select an issue impact option from the Issue Impact dropdown menu. The Issue Impact field shows the potential harm of the issue.
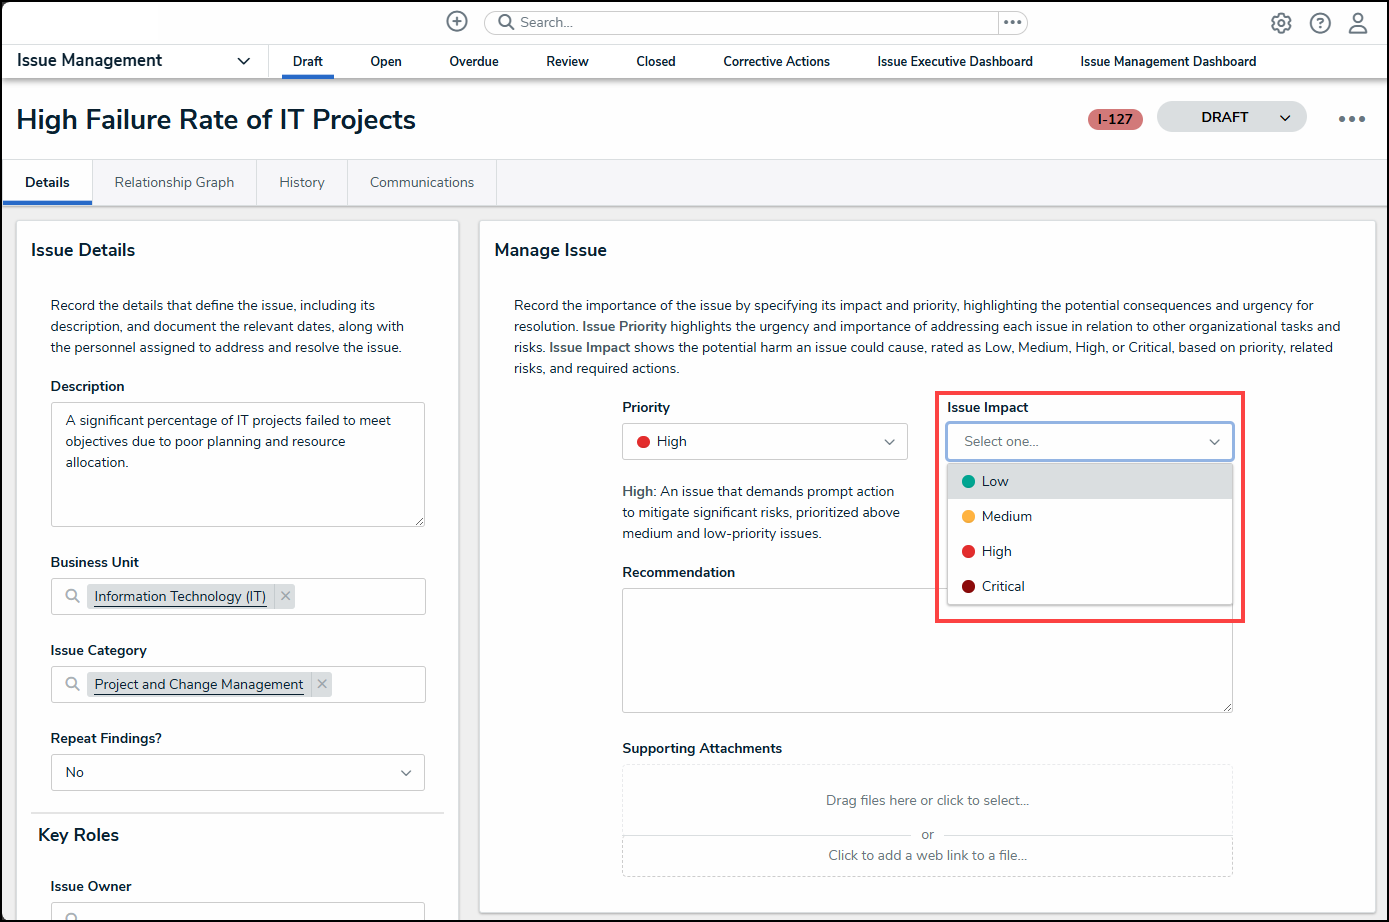
Issue Impact Dropdown Menu
- Once an issue impact is selected from the Issue Impact dropdown menu, a brief description of the issue impact will appear under the Issue Impact field.
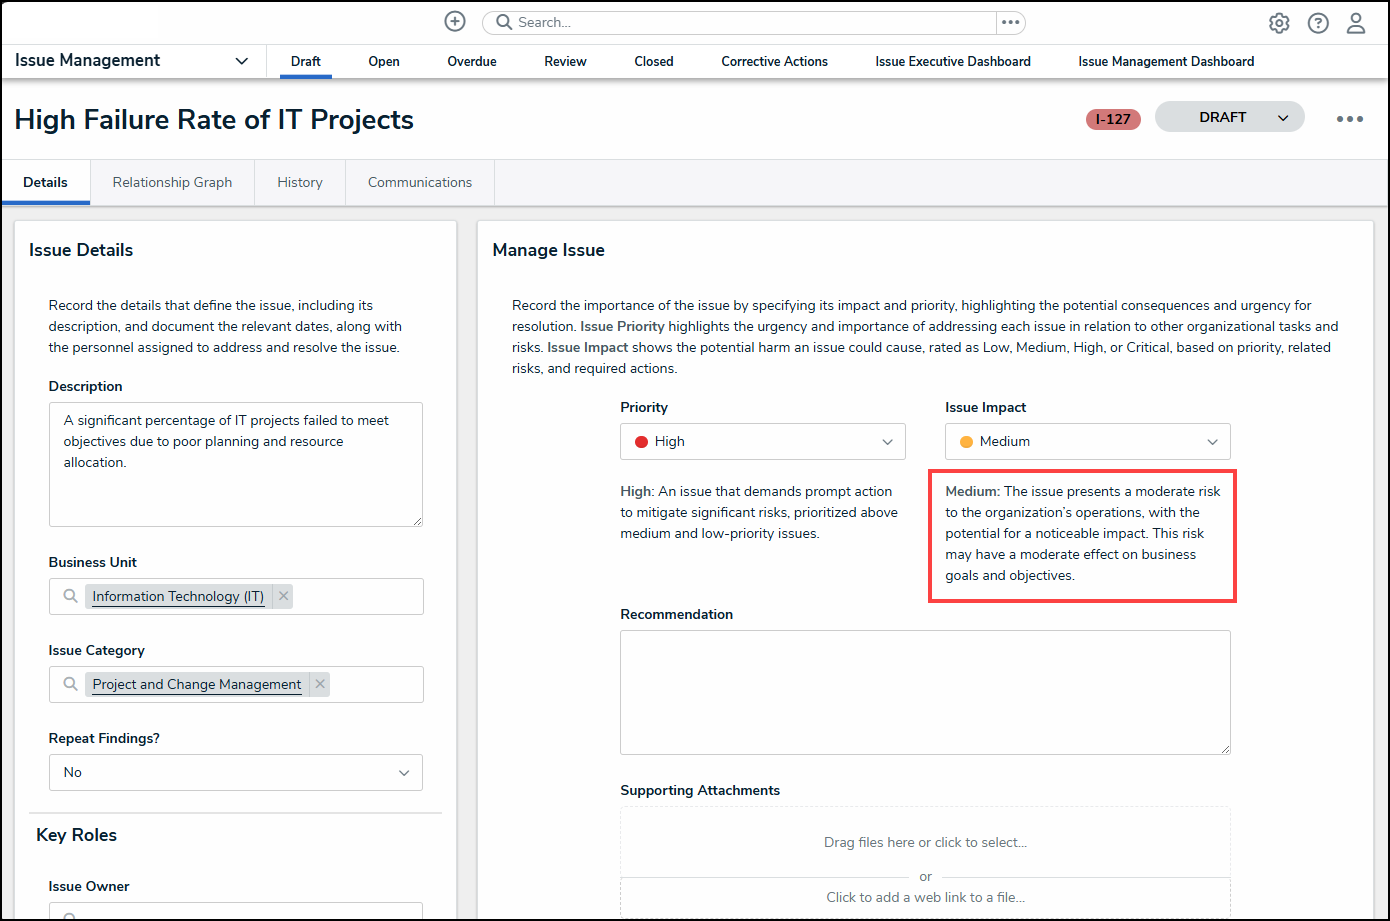
Issue Impact Description
- Enter an initial recommendation for solving the issue in the Recommendation field.
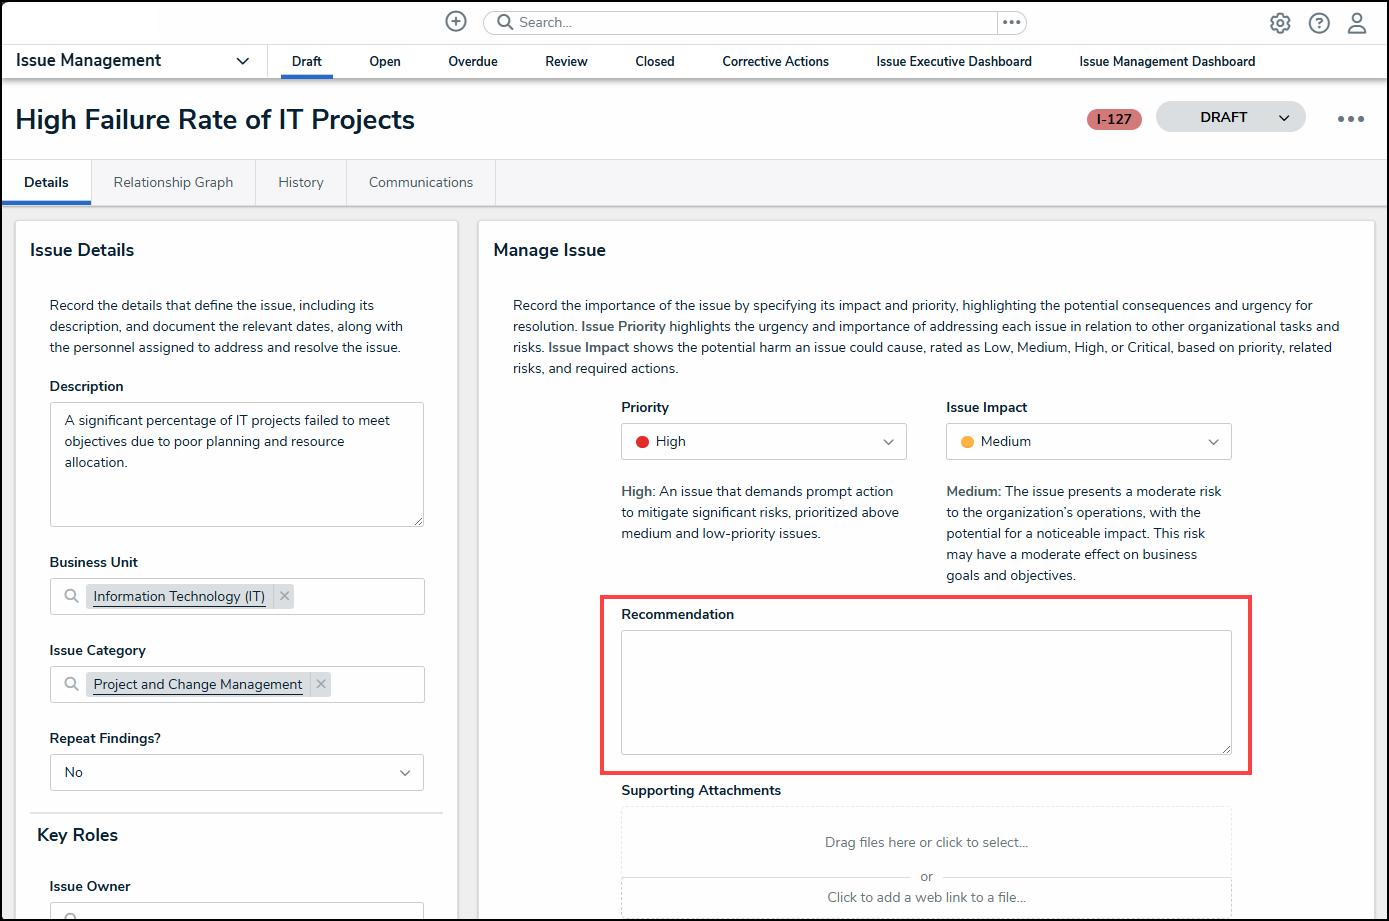
Recommendation Field
- Drag and drop files into the Supporting Attachments field or click in the upper portion of the field to add a file from the connected PC. For information regarding file restrictions, please see the Restricted Attachment File Types article.
Support Attachments Field
- Click the Click to add a web link to a file link.
Click to add a web link to a file Link
- From the Web Link pop-up, enter the name that will represent the web link on screen in the Display Name field.
Display Name Field
- Enter the web link URL in the URL Link field.
URL Link Field
- Click the + Add Link button to add the web link to the Supporting Attachments field.
+ Add Link Button
- The Controls, Risks, Requirements, Citations, and Third-Party Assessments tabs will be populated with data that is linked to the Issue for the corresponding tab, if applicable.
Controls, Risks, Requirements, Citations, and Third-Party Assessments