Article Content
Overview
To translate content in the Portal, the desired language must be added on the Languages screen. Once added, the language becomes available for translations across the Portal.
Resolver supports three types of language translations for the Portal:
- Configurable Languages: These languages allow you to translate configurable fields and user interface text throughout the Portal. When you add a language on the Languages screen, Resolver provides a downloadable .csv file that contains the relevant user interface labels and configurable fields. You can enter your translated text directly into the file and then upload the completed .csv back into Resolver to apply the translations. These translations are fully customizable. Please refer to the Adding a Configurable Language Translation article for further information on adding a configurable language. Please refer to the Configurable Languages section of the Languages Overview article for a list of which languages can be configured for Portal fields.
- Standard Portal Languages: These languages are built-in (hard-coded) translations used in the Standard Portal. The Portal displays in the language that matches the user’s browser settings. These languages cannot be customized. Please refer to the Standard Portal Languages section of the Languages Overview article for a list of which languages are used for the Standard Portal.
- Enhanced Portal Languages: These languages are built-in (hard-coded) translations used in the Enhanced Portal. The Portal displays in the language that matches the user’s browser settings. These languages cannot be customized. Please refer to the Enhanced Portal Languages section of the Languages Overview article for a list of which languages are used for the Enhanced Portal.
User Account Requirements
The user account you use to log into Resolver must have Administration permissions or Settings Management advance permissions to access the Languages screen and add a new language.
Navigation
- From the Home screen, click the Administration icon.
Administration Icon
- From the Administrator Settings menu, click Languages.
Administrator Settings Menu
Adding a New Language to the Anonymous Portal
- From the Languages screen, click the Add New Language field and select a language from the dropdown menu.
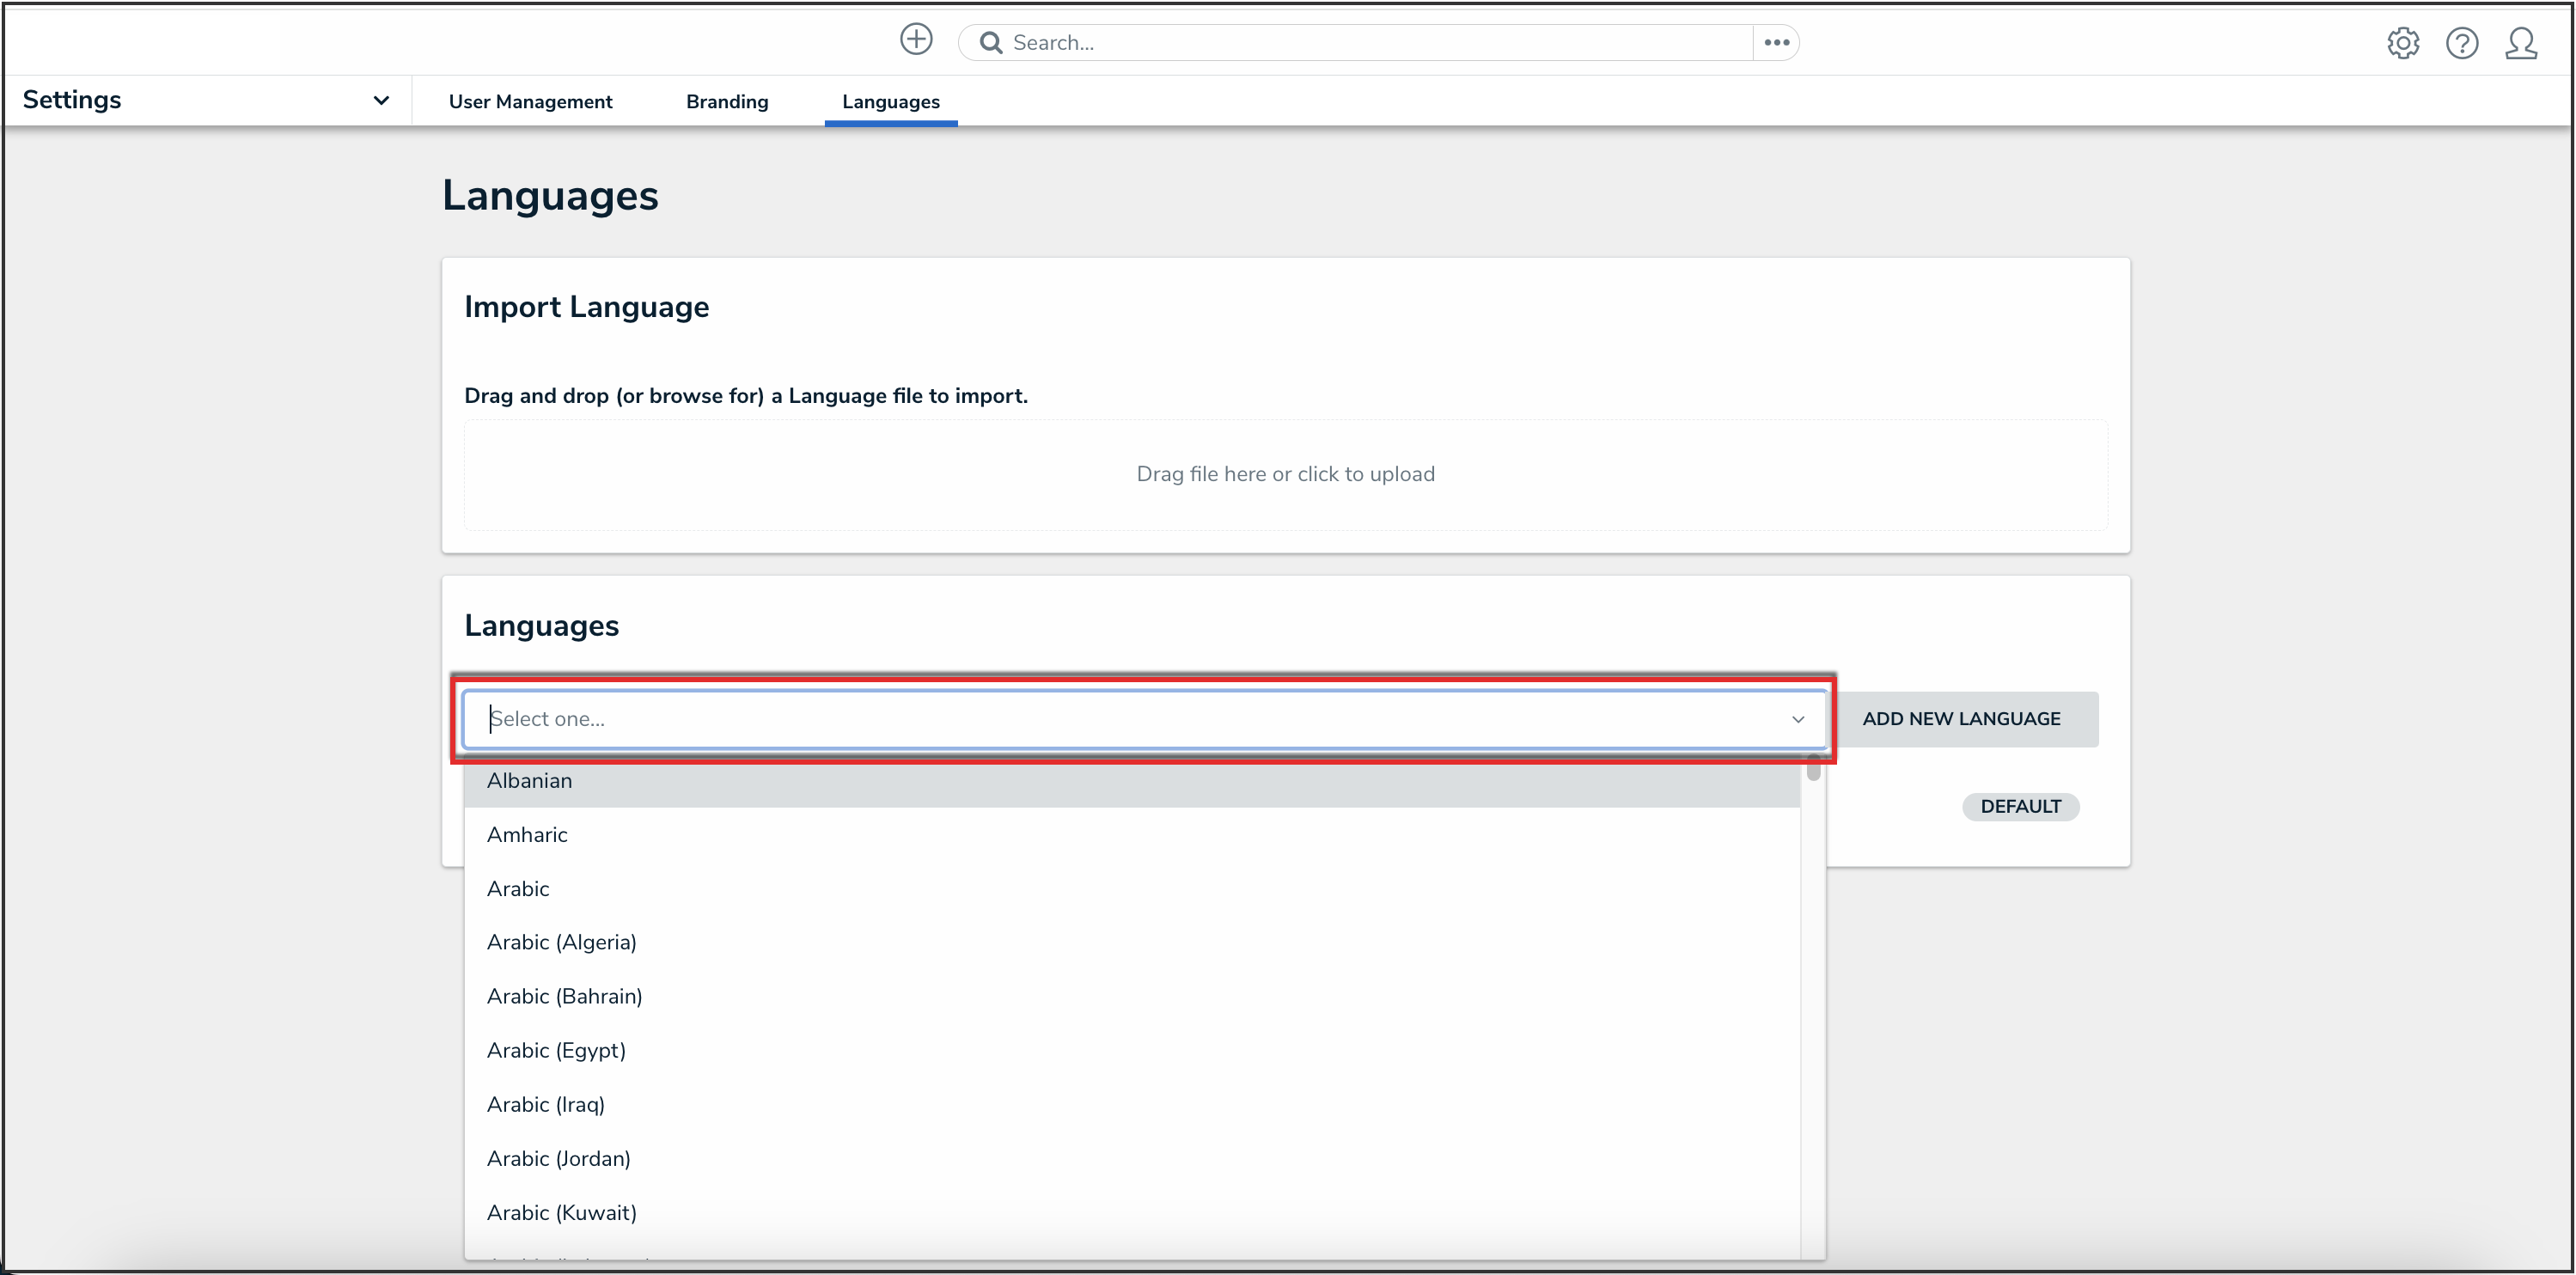
Add New Language Field
- Click the Add New Language button to add the language to the list of available languages.
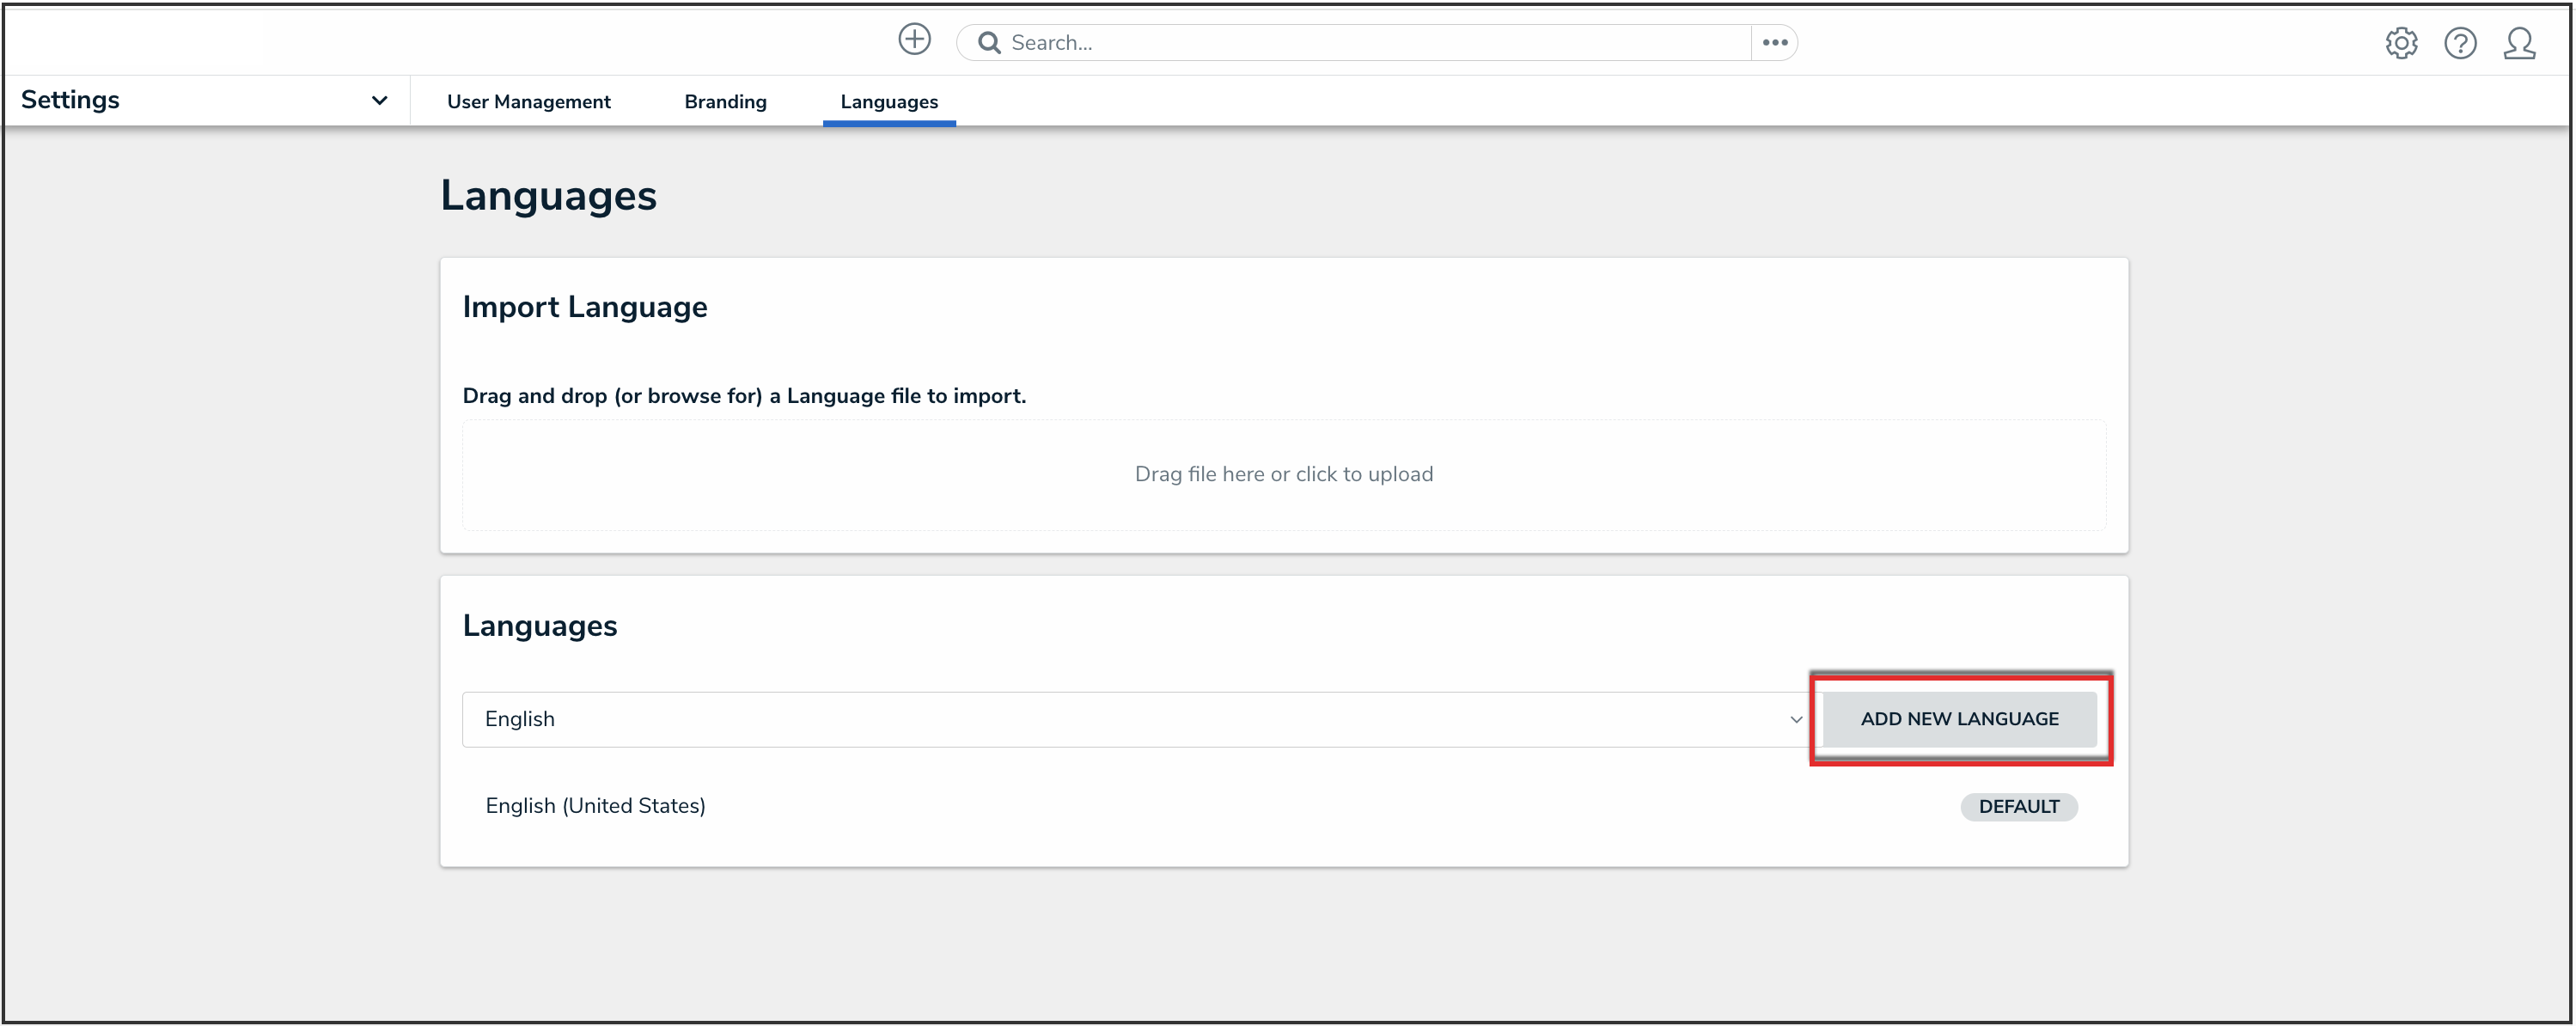
Add New Language Button
- (Optional): To edit a language label, click the Edit icon and enter a new language label in the Language Label field.
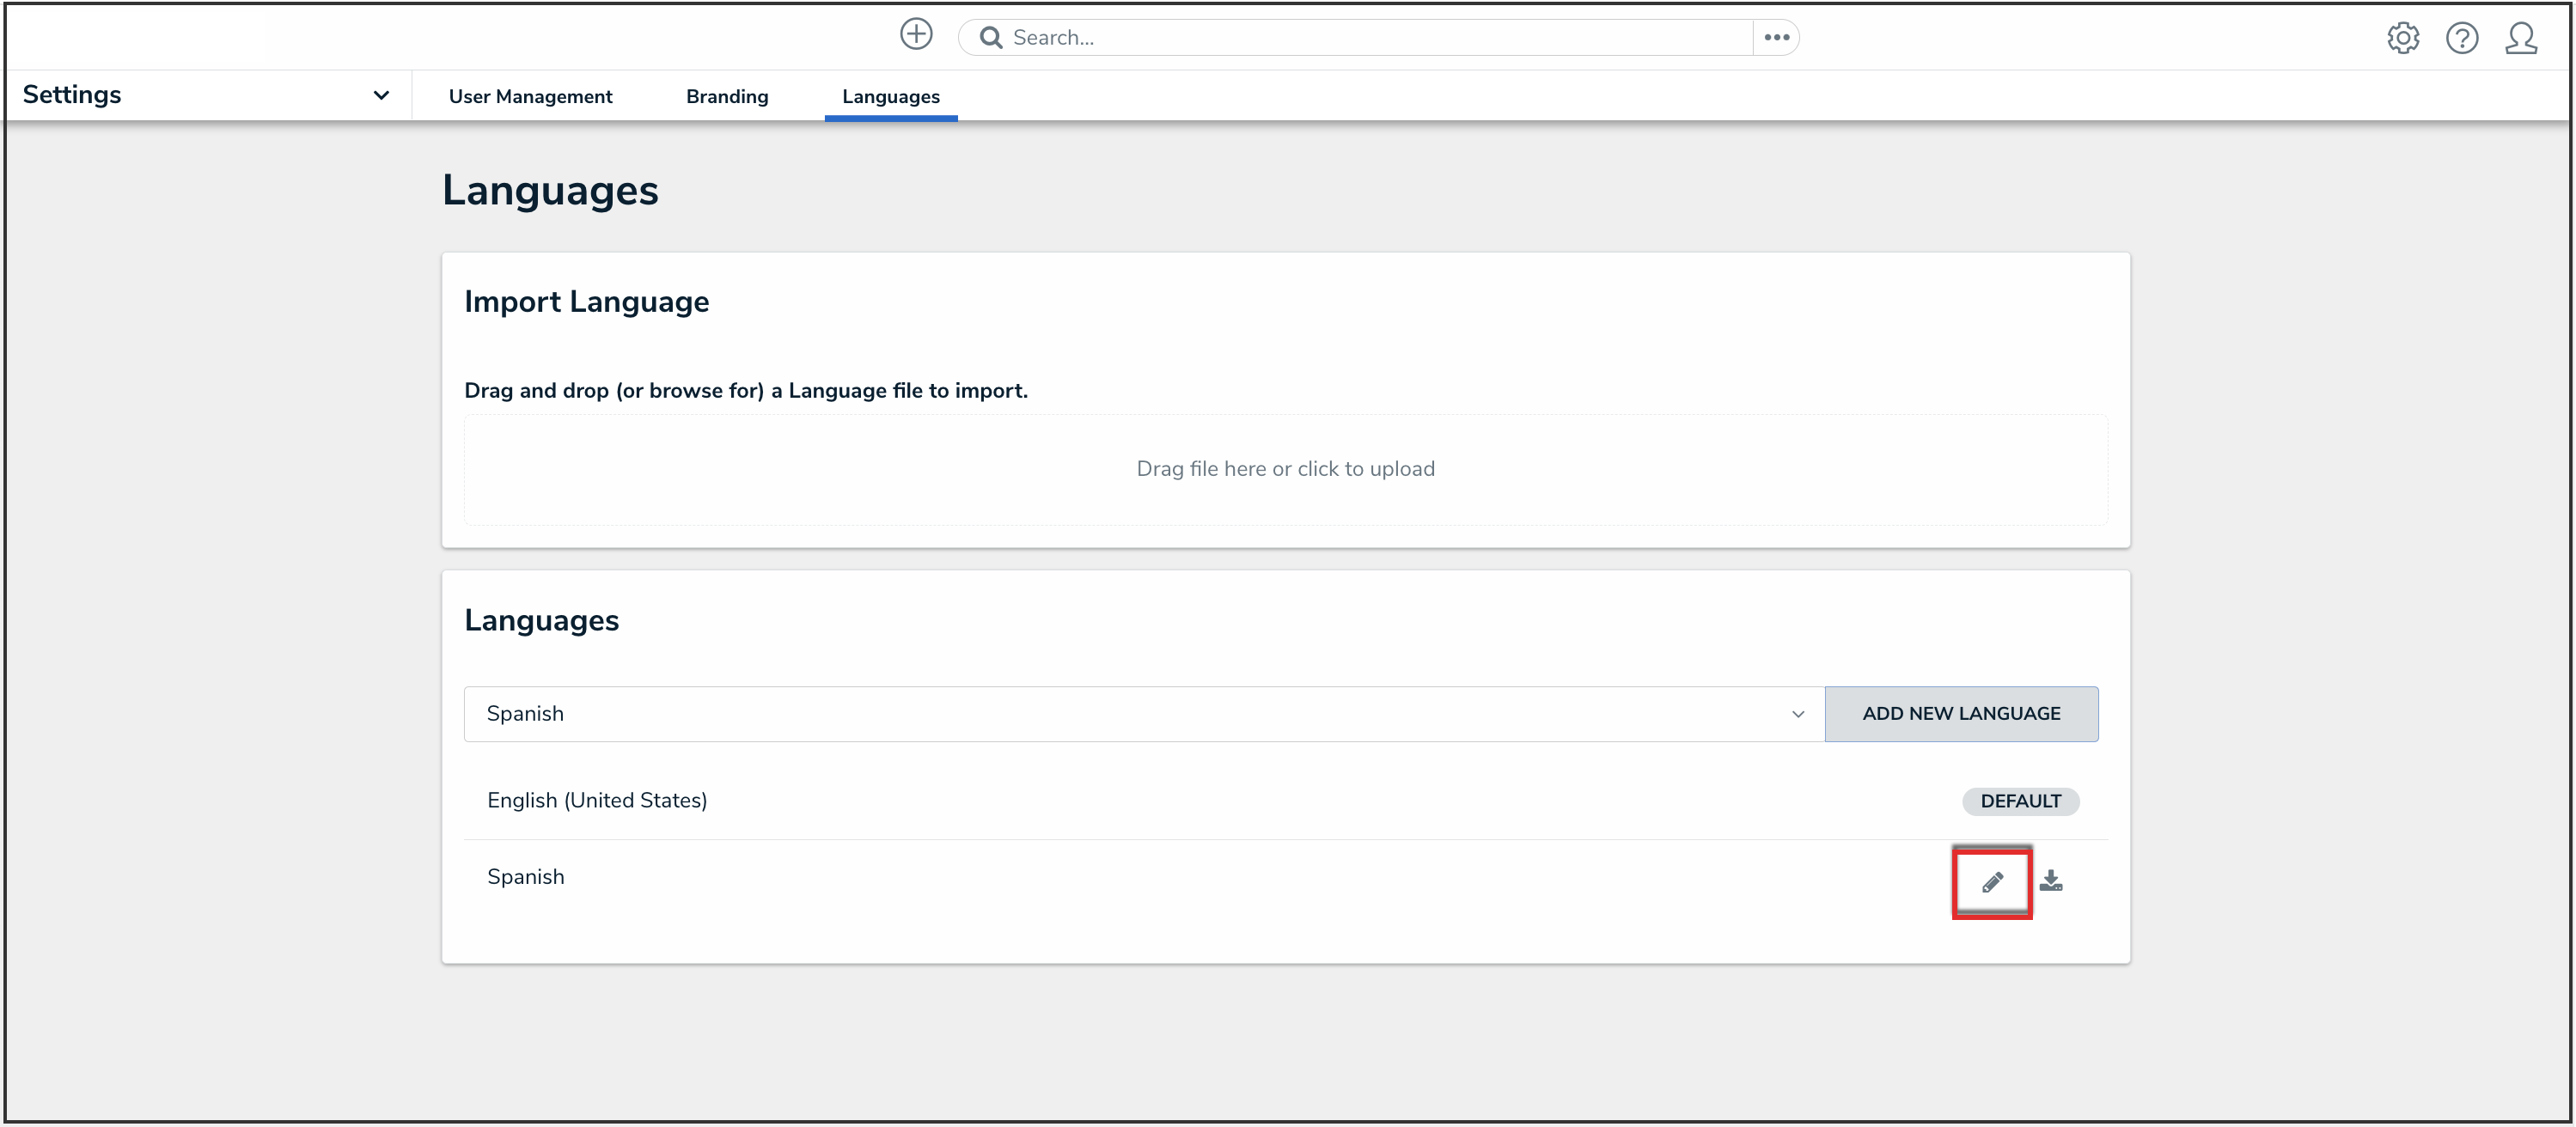
Edit Icon
- Click the Done button to save changes.
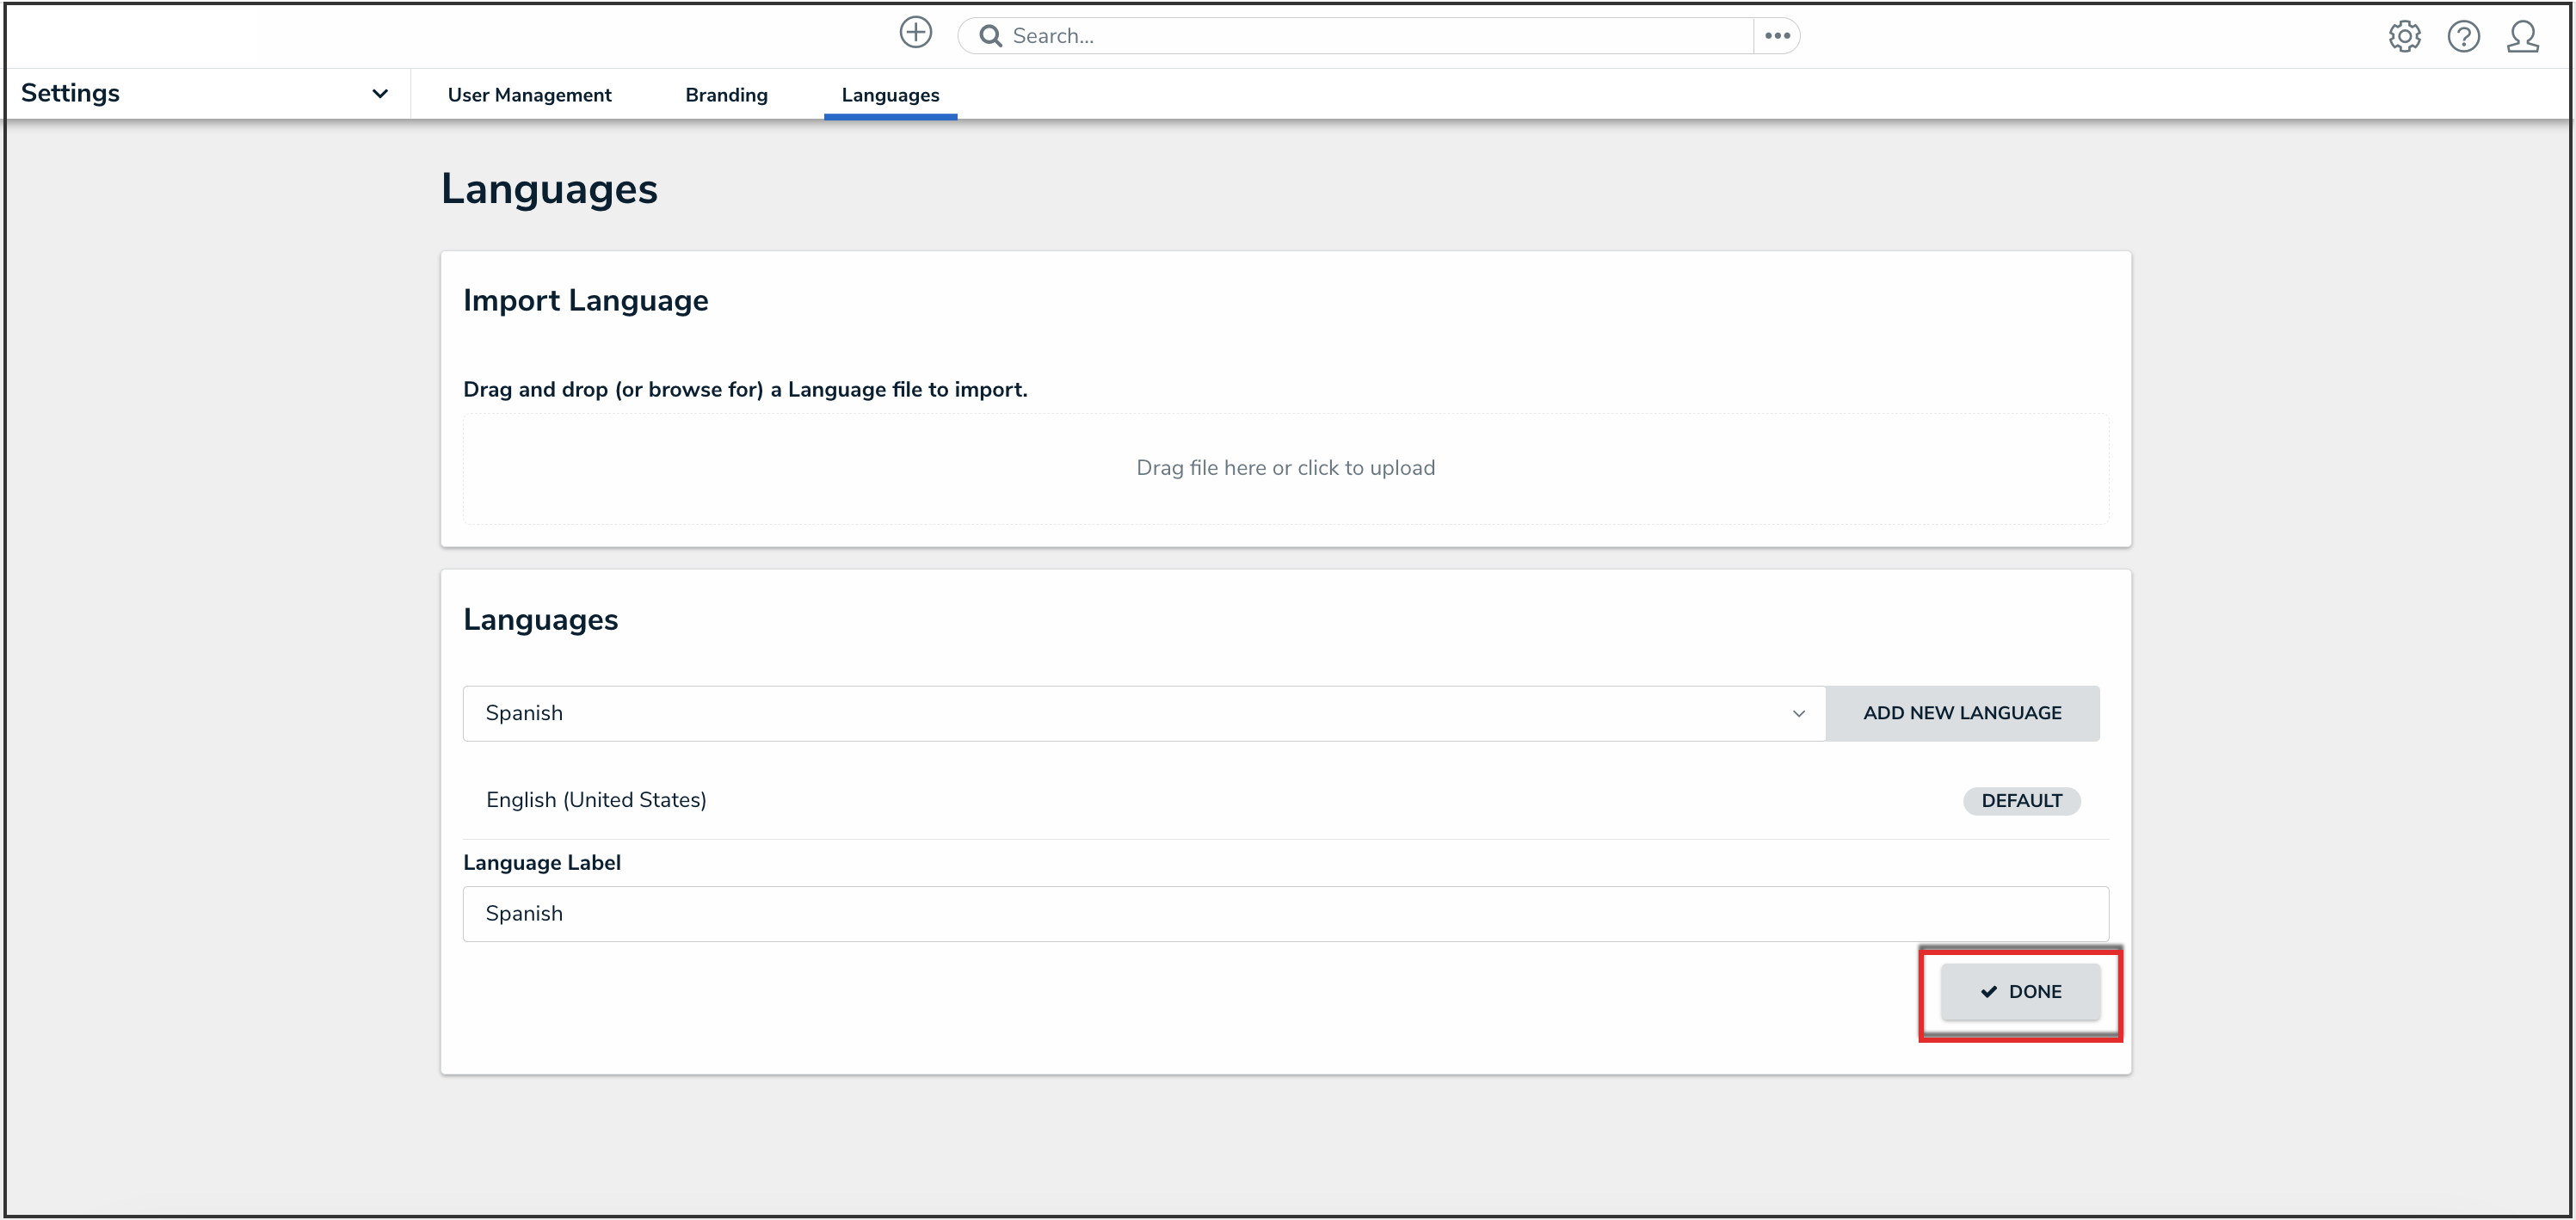
Done Button