Article Content
| Overview |
| User Account Requirements |
| Related Information/Setup |
| Navigation |
| Creating a New Object Type Group |
Overview
Object type groups arrange one or more object types into a category to create relationships.
User Account Requirements
The user account you use to log into Resolver must have Administrator permission to access Object Types.
Related Information/Setup
Please refer to the Editing or Deleting an Object Type Group article for further information.
Navigation
- From the Home screen, click on the Administration icon.
Administration Icon
- From the Administrator Settings menu, click Admin Overview.
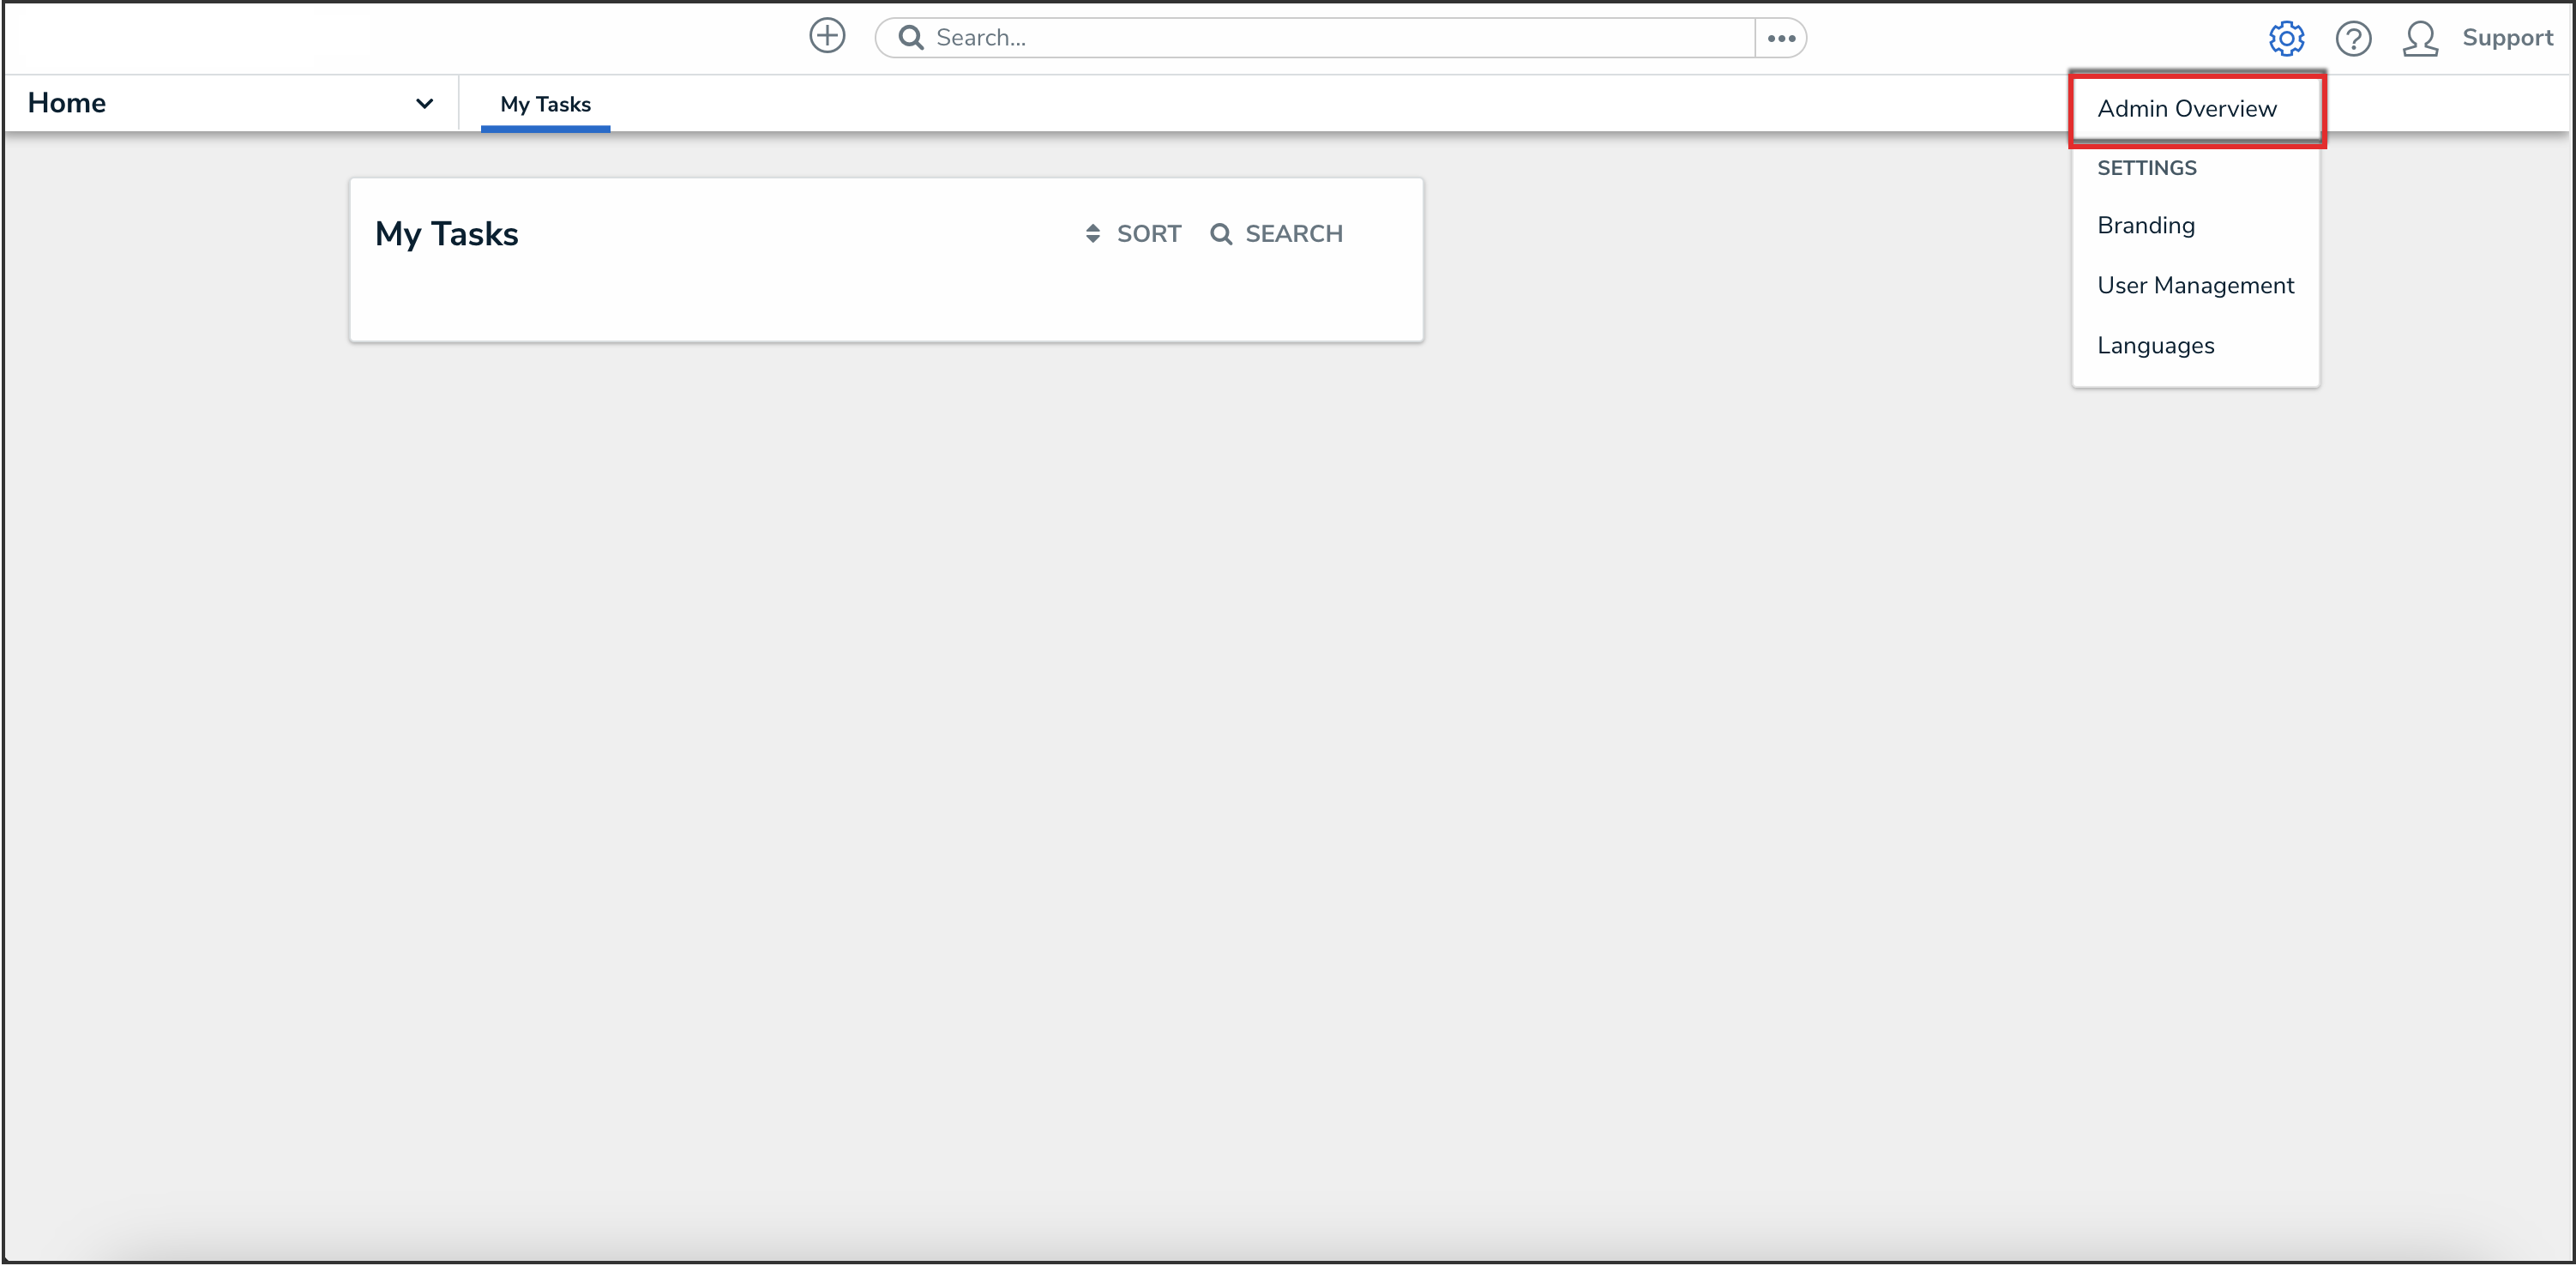
Administrator Settings Menu
- From the Admin Overview screen, click on the Object Type Groups tile under the Data Model section.
Object Type Groups Tile
- From the Admin: Object Type Groups screen, click the + Create Object Type Group button.
+ Create Object Type Group Button
Creating a New Object Type Group
- From the Admin: Create Object Type Group screen, enter a unique Object Type Group name in the Name field. The Object Type Group Name represents the Object Type Group throughout the system.
Name Field
- (Optional) Enter a brief Object Type Group description in the Long Name field. The Long Name field is used in parts of the application (e.g., searching for an Object Type Group) to provide further information about the Object Type Group.
Long Name Field
- Click the Create button to create the Object Type Group.
Create Button
- After creating the Object Type Group, the Related Object Types section will appear.
- Enter an Object Type name in the Related Object Types field and select it from the dropdown menu.
Related Object Types Field
- After you have added all the Object Types you want, click the + Add Selected button to add the Object Types to the Object Type Group.
+ Add Selected Button
- Click the Done button.
Done Button